想知道使用Ai如何绘画出画板图标吗?此教程内容就为大伙呈现了使用Ai绘画出画板图标的具体操作流程,感兴趣的用户快去下文看看吧!
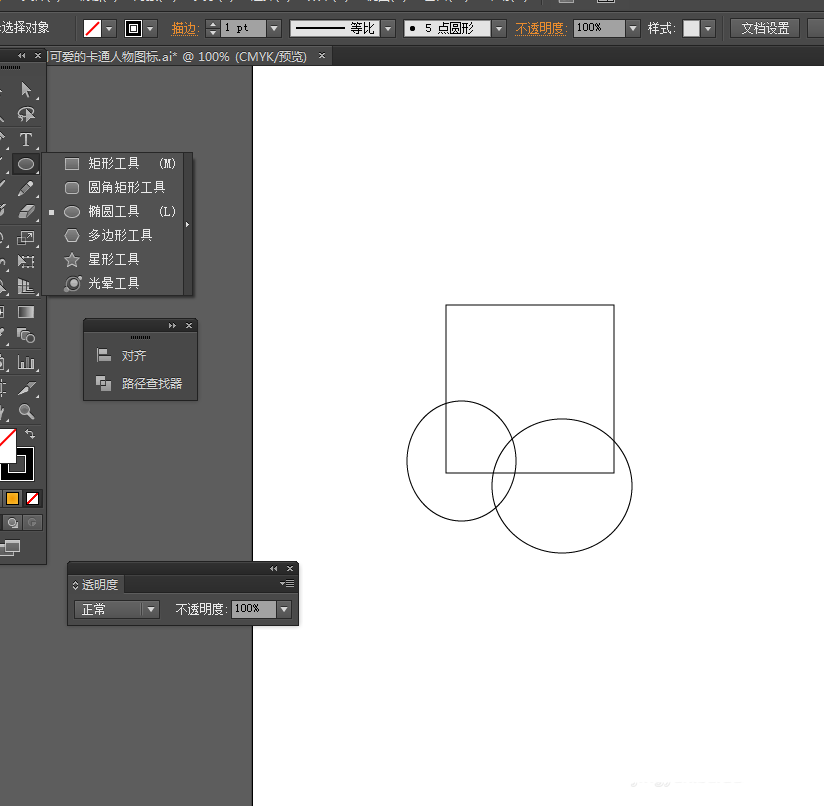
1、在Ai软件中,新建一个800*800的文档,选择矩形工具,按住shift画一个正方形,再选择椭圆图形,画两个圆形,如图所示
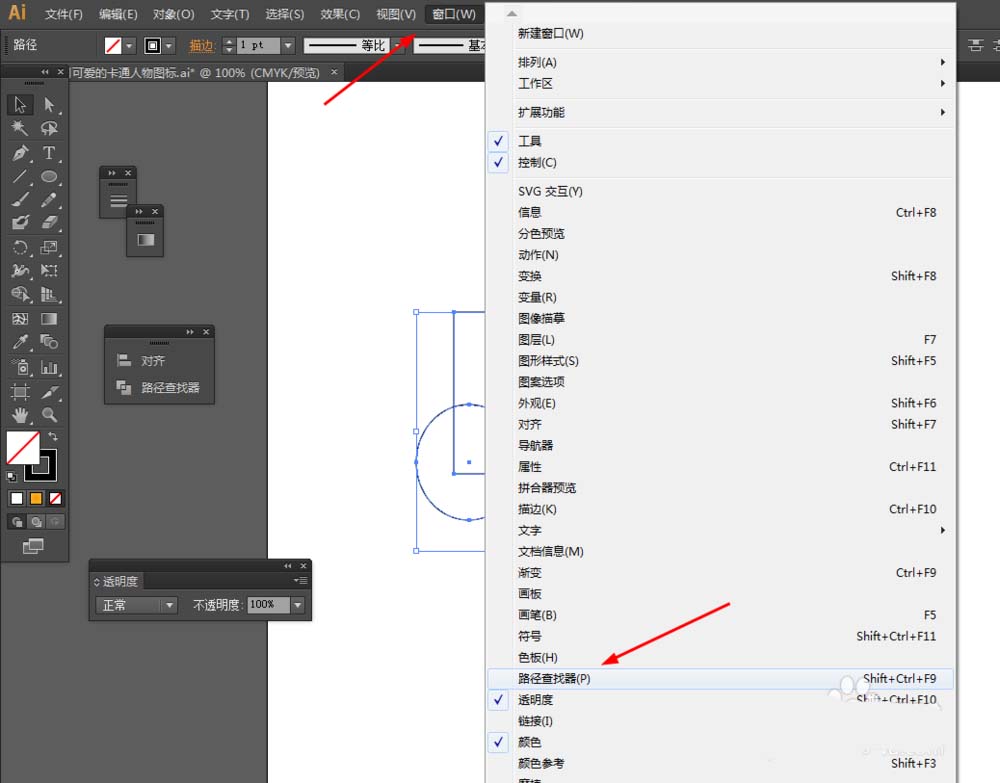
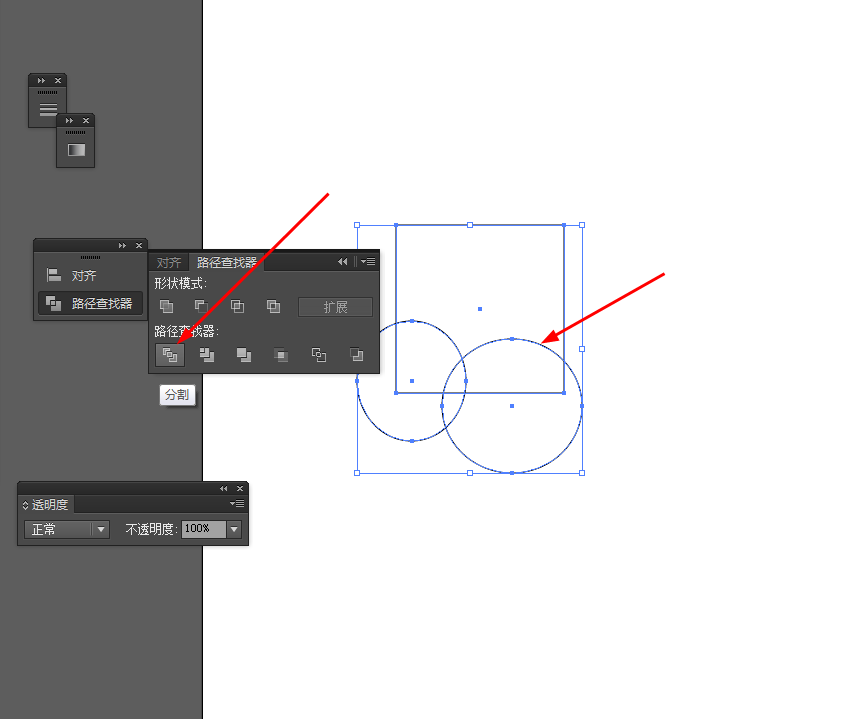
2、然后选中圆形和正方形到窗口—路径查找器—点击分割,如图所示
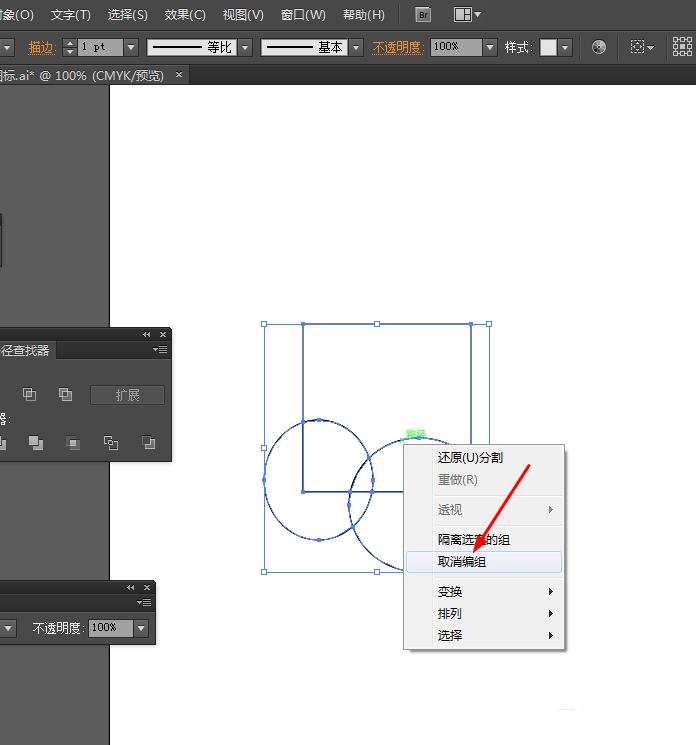
3、点击图形右键取消编组,把多余的图形删除掉,并给分割后的图形填充颜色,如图所示

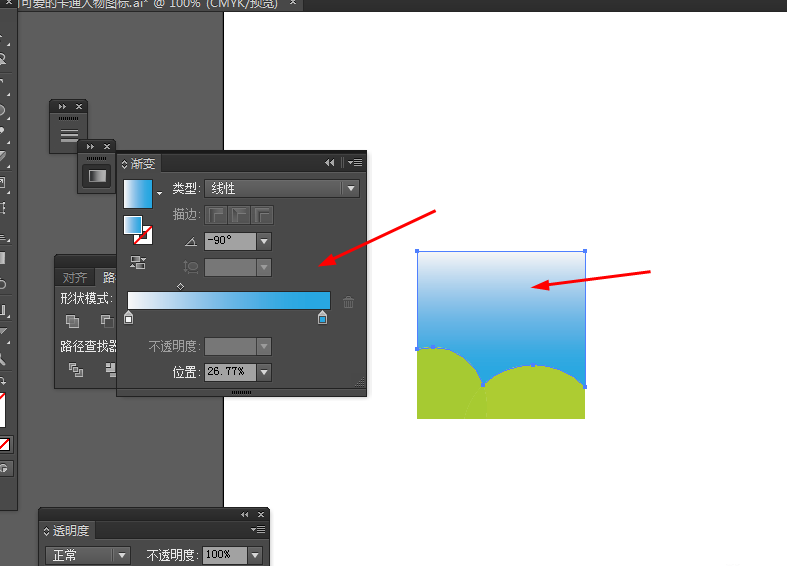
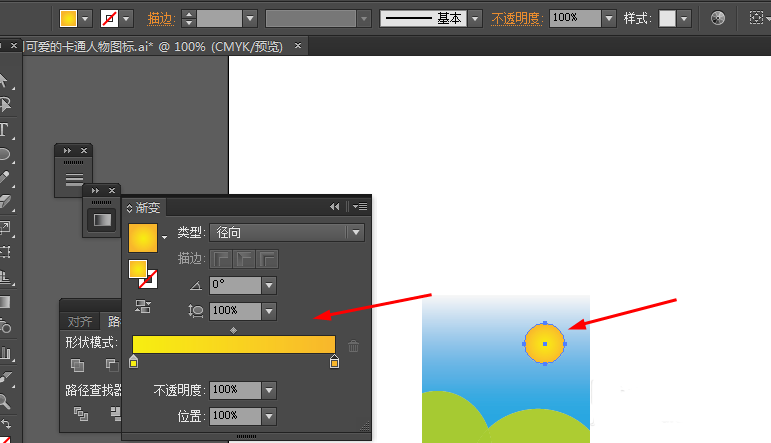
4、接着选择椭圆工具,按住shift画一个正圆图形,并添加渐变颜色,如图所示
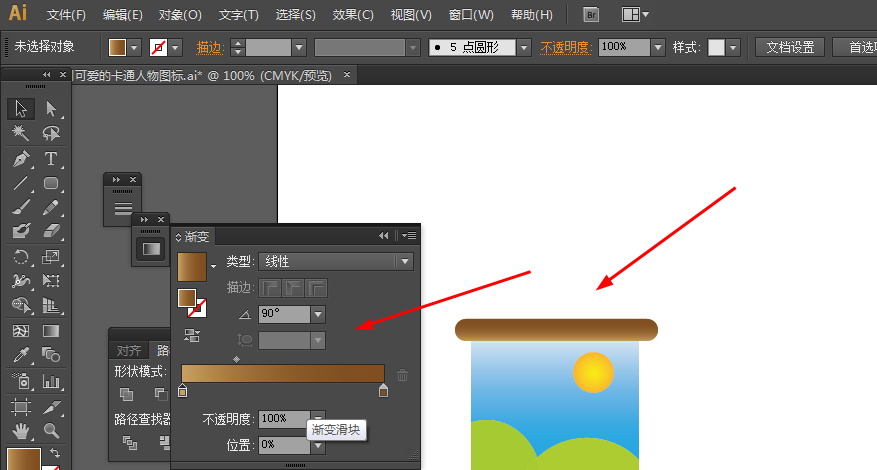
5、接下来选择圆角矩形工具,画两个圆角图形,并添加渐变颜色,如图所示
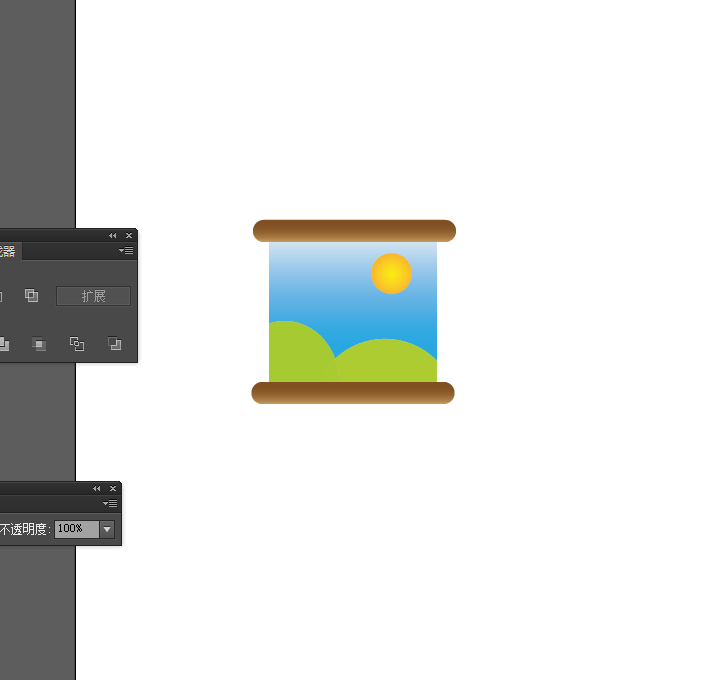
6、效果如下图所示
按照上文为你们呈现的使用Ai绘画出画板图标的具体操作流程,你们是不是都学会啦!