ps相信伙伴们都不陌生,但是大伙了解使用ps如何设计木制相框吗?在此就为大伙带来了使用ps设计出木制相框的具体操作方法。

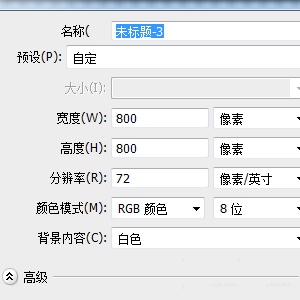
1、新建一个800*800的图层
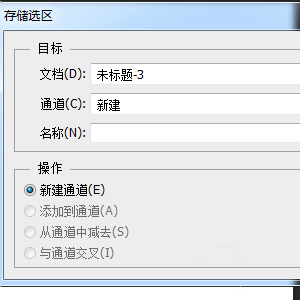
2、Ctrl+A对图层进行全选,菜单:选择-储存选区-确定
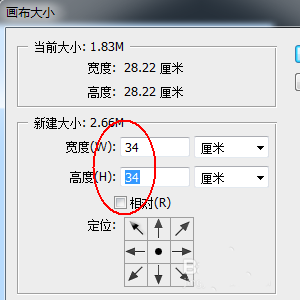
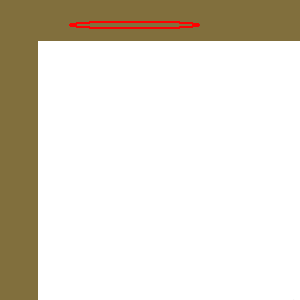
3、菜单:图像-画布大小,宽度和高度各增加6厘米
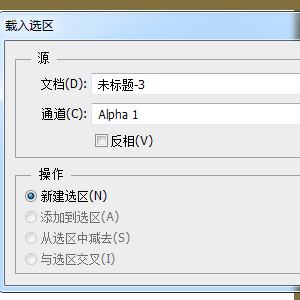
4、菜单:选择-载入选区-确定,再执行:选择-反向
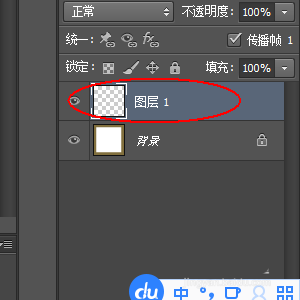
5、在图层面板上新建一个图层。
6、背景色设置为816f3d,菜单:编辑-填充-背景色
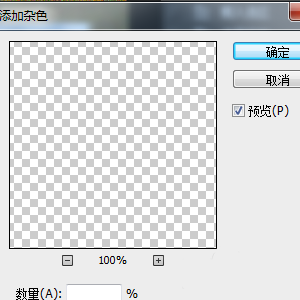
7、菜单:滤镜-杂色-添加杂色,确定
8、菜单:滤镜-模糊-动感模糊,角度为0 距离为30px

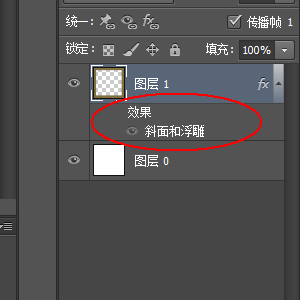
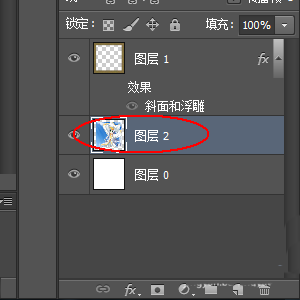
9、添加图层样式-斜面与浮雕
10、将照片粘贴过来,并调整好大小
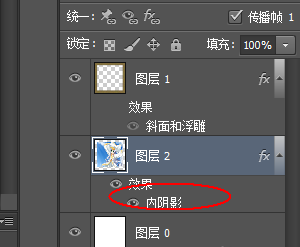
11、添加图层样式-内阴影
12、最终效果

按照上文分享的使用ps设计出木制相框的具体操作方法,你们自己也赶紧去试试吧!
以上就是小编为大家带来的使用ps设计出木制相框的具体操作方法全部内容,更多相关资讯尽在乐呵呵网!