发现ai中的字体太细了,你们知道如何设置字体粗细吗?在此就为大伙带来了ai设置字体粗细的具体方法介绍。

方法一
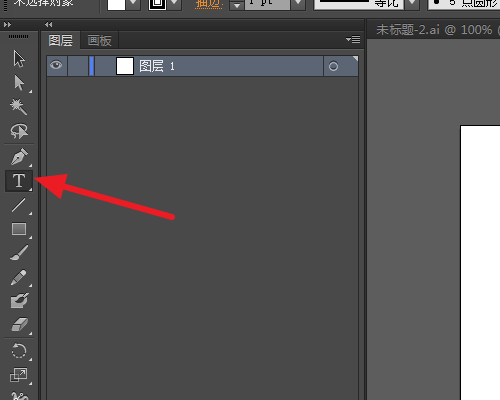
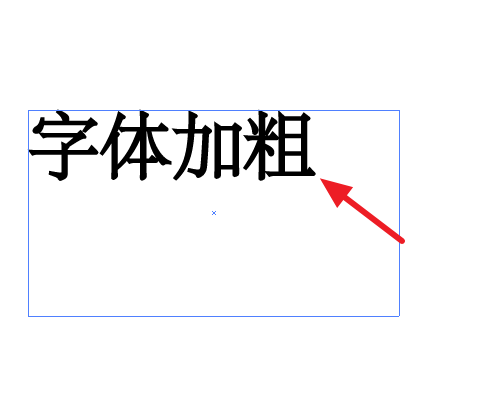
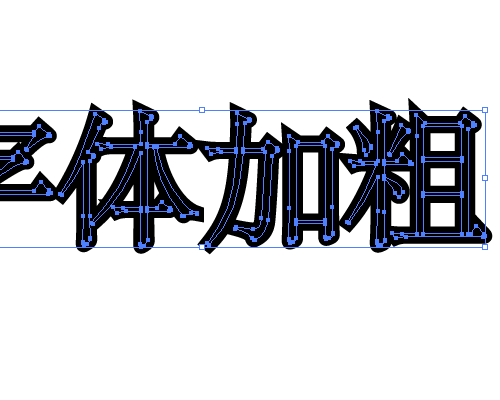
1、首先,用文字工具输入需要加粗的文字
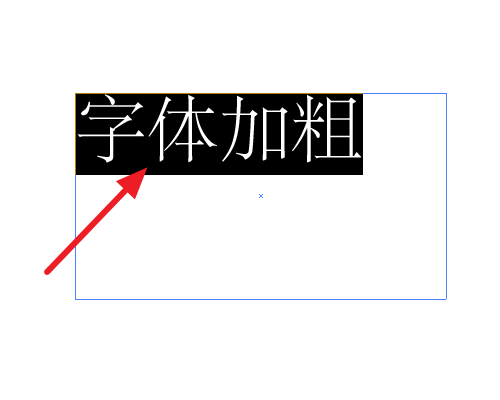
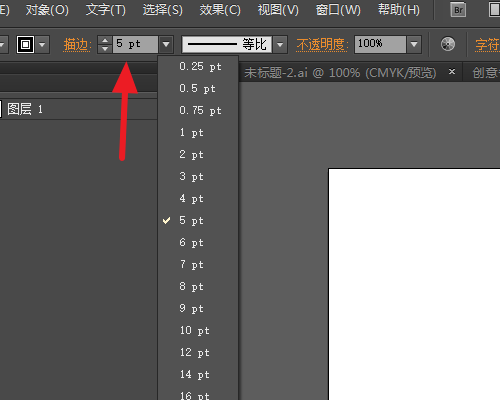
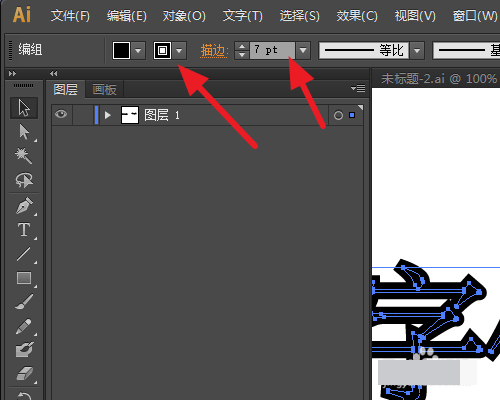
2、接着添加描边,设置和填充一样的颜色
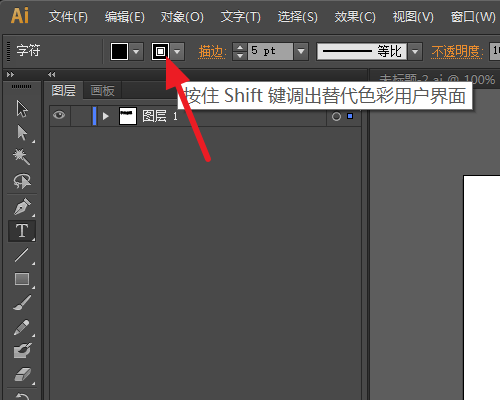
3、在设置描边的粗细,数值根据自己的需要
4、就可以得到加粗的字体了
方法二
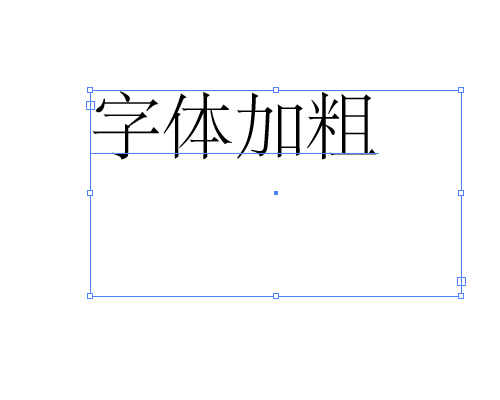
1、另一种方法需要先选中字体
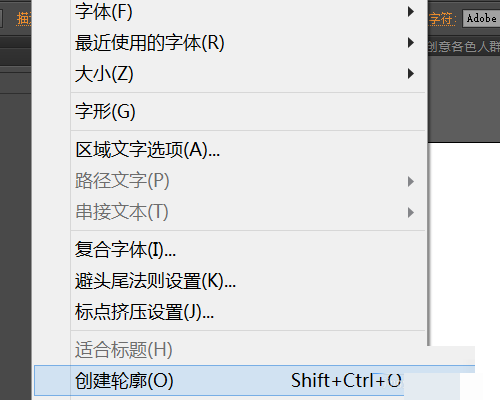
2、找到【文字】-【创建轮廓】
3、同样添加描边,并设置粗细即可
根据以上分享的ai设置字体粗细的具体方法介绍,你们自己也赶紧去试试吧!
以上就是小编为大家带来的ai设置字体粗细的具体方法介绍全部内容,更多相关资讯尽在乐呵呵网!