offset 即偏移量,使用 offset 系列相关属性可以 动态的 获取该元素的位置(偏移)、大小等,如:元素距离带有定位父元素的位置获取元素自身的大小(宽度高度)注:返回的数值不带单位
offset 系列常用的属性包括: element.offsetParent 返回作为该元素带有定位的父级元素,如果父级元素没有定位,则返回 body 注意,parentNode 和 offsetParent 还是有本质上的区别的:parentNode 返回的是直接父级元素,offsetParent 返回的是带有定位的父级元素。 element.offsetTop 返回元素带有定位父元素上方的偏移 element.offsetLeft 返回元素带有定位父元素左边框的偏移 element.offsetWidth 返回自身包括 padding, 边框, 内容区的宽度,返回数值不带单位 element.offsetHeight 返回自身包括 padding, 边框, 内容区的高度,返回数值不带单位
offset 和 style 的区别
offset style offset 可以得到任意样式表中的样式值 style 只能得到行内样式表中的样式值,无法获得内嵌样式 offset 系列获得的数值是没有单位的 style.width 获得的是带有单位的字符串 offsetWidth 包含 padding+border+width style.width 获得不包含 padding 和 border 的值 offsetWidth 等属性是只读属性,只能获取不能赋值 style 属性是可读写属性,style.width 可以获取也可以赋值 只想要获取元素大小位置的时候,用 offset 更合适 要对元素样式进行修改的话,使用 style 更合适
案例一:实时展示鼠标的坐标演示

<!DOCTYPE html><html lang='en'><head><meta charset='UTF-8' /><meta http-equiv='X-UA-Compatible' content='IE=edge' /><meta name='viewport' content='width=device-width, initial-scale=1.0' /><title>鼠标位置获取-01</title><style>.box {width: 500px;height: 500px;background-color: #55aaff;margin-left: 50px;}</style></head><body><p>获取鼠标在盒子内坐标</p><div class='box'></div><script>// 在盒子中点击,想要获得鼠标距离盒子左右的距离// 实现:// 1. 获得鼠标在页面中的坐标,e.pageX, e.pageY// 2. 获得盒子到页面中的距离, box.offsetLeft, box.offsetTop// 3. 两者相减就能够获得鼠标在盒子中的坐标// 下面看实现过程吧!const box = document.querySelector('.box');box.addEventListener('mousemove', function(e) {// console.log(e.pageX, e.pageY);// console.log(box.offsetLeft, box.offsetTop);const x = e.pageX - this.offsetLeft;const y = e.pageY - this.offsetTop;box.textContent = `x: ${x}, y: ${y}`;});</script></body></html>案例二:拖动模块
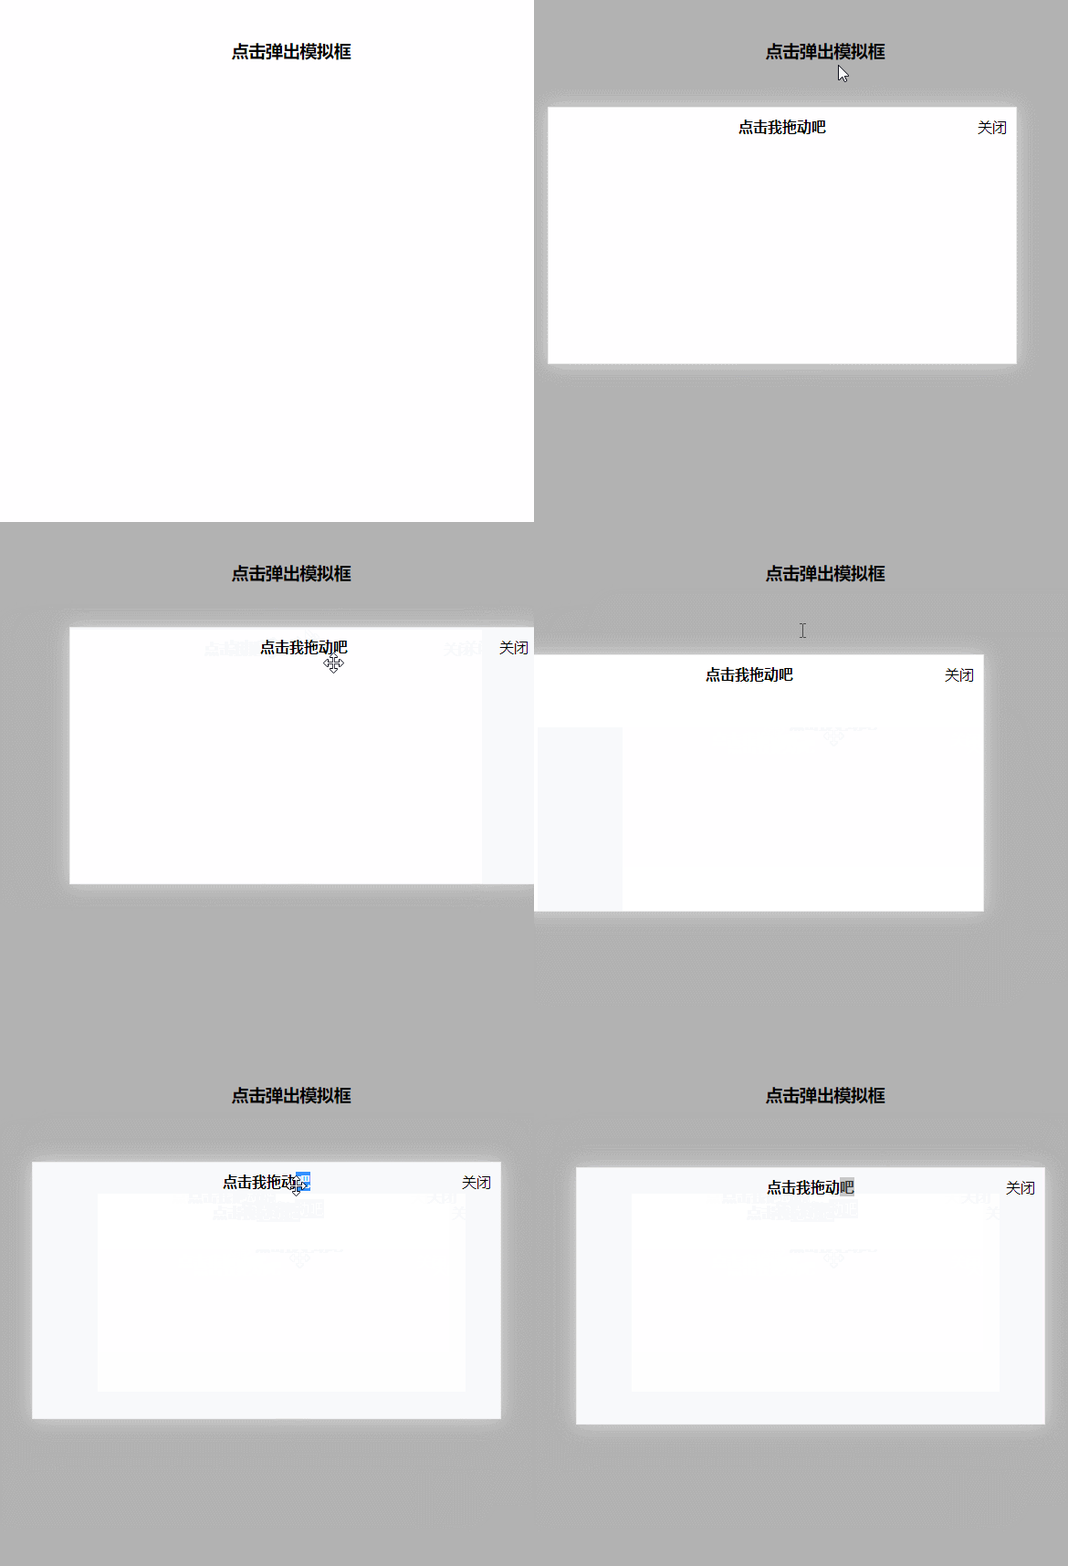
演示

<!DOCTYPE html><html lang='en'> <head> <meta charset='UTF-8' /> <meta http-equiv='X-UA-Compatible' content='IE=edge' /> <meta name='viewport' content='width=device-width, initial-scale=1.0' /> <title>模块拖动-02</title> <style> * { margin: 0; padding: 0; } .login, .modal { display: none; } .login { width: 512px; height: 280px; position: fixed; border: #ebebeb solid 1px; left: 50%; top: 50%; background-color: #fff; box-shadow: 0 0 20px #ddd; z-index: 999; transform: translate(-50%, -50%); text-align: center; } .modal { position: absolute; top: 0; left: 0; width: 100vw; height: 100vh; background-color: rgba(0, 0, 0, 0.3); z-index: 998; } .login-content { margin: 100px auto; text-align: center; } .login-content h3:hover, .closeBtn:hover { cursor: pointer; } .closeBtn { position: absolute; right: 10px; top: 10px; } .login h4 { margin-top: 10px; } .login h4:hover { cursor: move; } </style> </head> <body> <div class='login-content'> <h3 id='openLogin'>点击弹出模拟框</h3> </div> <div class='login'> <div id='closeBtn'>关闭</div> <h4 class='loginHeader'>点击我拖动吧</h4> </div> <div class='modal'></div> <script> // 获取元素 const login = document.querySelector('.login'); const modal = document.querySelector('.modal'); const closeBtn = document.querySelector('#closeBtn'); const openLogin = document.querySelector('#openLogin'); // 点击显示元素 openLogin.addEventListener('click', () => { modal.style.display = 'block'; login.style.display = 'block'; }); closeBtn.addEventListener('click', () => { modal.style.display = 'none'; login.style.display = 'none'; }); // 实现拖拽移动功能 // 1. 鼠标按下获得鼠标在盒子内的坐标 const loginHeader = document.querySelector('.loginHeader'); loginHeader.addEventListener('mousedown', function (e) { const x = e.pageX - login.offsetLeft; const y = e.pageY - login.offsetTop; const move = function (e) { login.style.left = `${e.pageX - x}px`; login.style.top = `${e.pageY - y}px`; }; // 2. 移动鼠标 document.addEventListener('mousemove', move); document.addEventListener('mouseup', function () { document.removeEventListener('mousemove', move); }); }); </script> </body></html>
到此这篇关于JavaScript offset实现鼠标坐标获取和窗口内模块拖动的文章就介绍到这了,更多相关JavaScript鼠标坐标获取和窗口内模块拖动内容请搜索乐呵呵网以前的文章或继续浏览下面的相关文章希望大家以后多多支持乐呵呵网!


